As of July 2016 we have discontinued this plugin. Contactually have disabled the version of the API that we used to connect and transfer data. As of July this year we have not been able to successfully work with their replacement API.
The documentation is here for reference for existing users.
 Like many of our add-ons for Gravity Forms the setup of this plugin is quick and easy. Once you’ve downloaded and installed the plugin in WordPress, activate it.
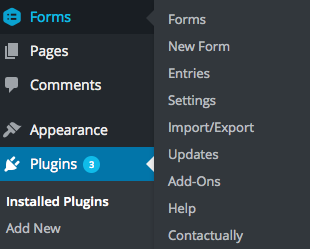
Begin by locating the plugin’s settings page. You will find it under the Forms menu item in your WordPress dashboard. It will require a license key to activate, you would have received this with your purchase. If you need to retrieve your licence key visit the purchase history section of our site here.
Connect the plugin to Contactually
The first time you use the plugin you will need to connect it to your Contactually account. Once this is done you’re able to map as many forms as you require.
You will need your Contactually API key.
This is simple to retrieve. Login to your Contactually account and visit API settings page:
https://www.contactually.com/settings/api
Copy and Paste the API into the field shown below.
Click save settings and the icon will turn green to confirm that the API key is saved.

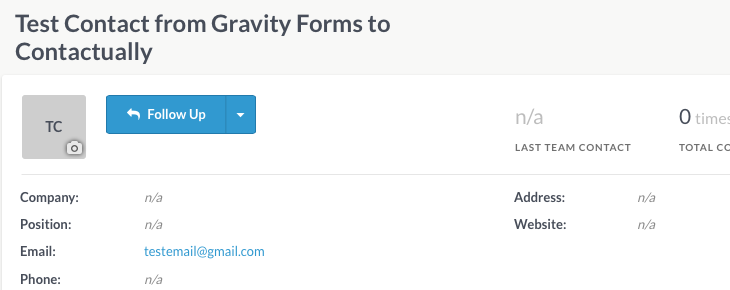
At this stage you can test the connection to Contactually with the test button shown above. It will create a contact in your account with the first name Test Contact.
Connecting a form to Contactually
Now you’re ready to start connecting your Gravity Forms to your Contactually account.
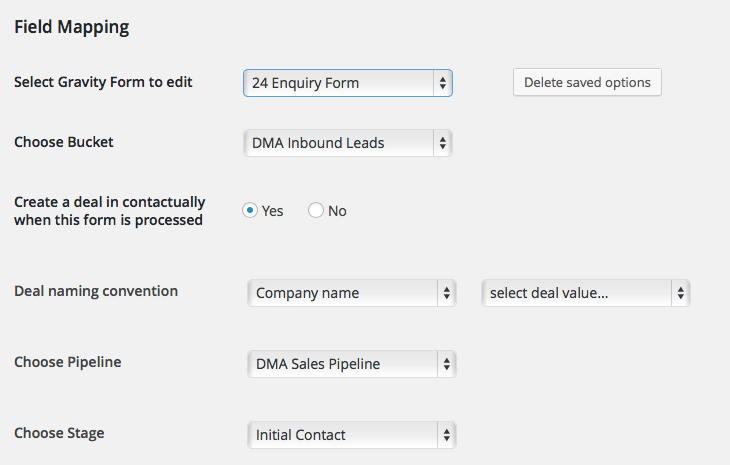
On the same settings page there is a tool to map any number of your forms that you would like to use with Contactually. Start by selecting the form that you’re going to use from the first drop down menu Select Gravity Form to edit.
Buckets
Next choose a Bucket from your Contactually setup, the Choose Bucket will automatically be populated with all of the Buckets that are currently configured in your account.
Deals
When setting up a form you can choose if you would also like to create a deal in Contactually. If you choose no to this option the plugin will only create a contact in your account.
If you are going to create a deal with this setup you can then choose one or two fields that you would like to map to the name of the deal. There are two drop down menus that show the fields in the form choose either just the first one or both the first and second.
For example: you might have a field Company in your form so you could use that as the deal name, or perhaps you have a First Name and a Last Name field so you could choose both of these to be the deal name.
Pipelines
Contactually supports multiple Pipelines. Again all of your Pipelines from your account will be shown in the drop down menu. Here you select which Pipeline the enquiry will be inserted into.
Finally, pipelines have multiple Stages so the last option gives you the ability to select which Stage will be used for the form
Field mapping
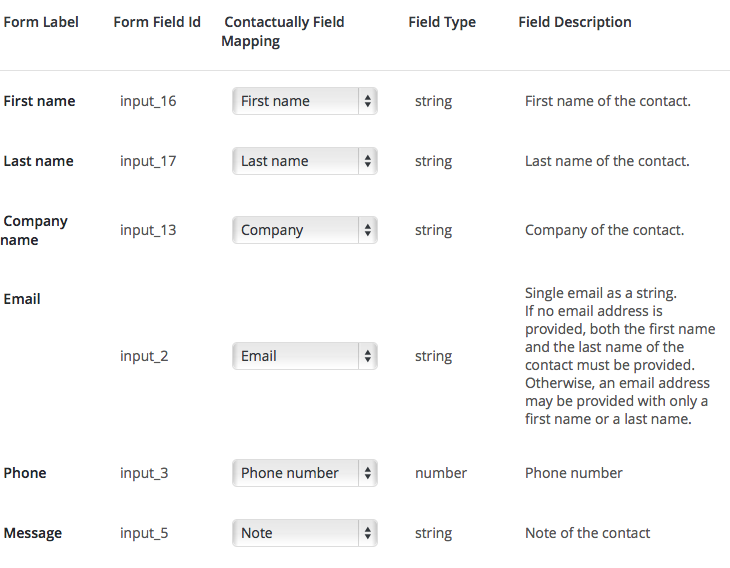
The last part of the setup is to select which fields in your Gravity Form will be sent to Contactually. The field mapping tool allows you to easily do this. Your Gravity Form fields are shown on the left an the options in Contactually are displayed on the right.
Contactually Notes
If you have a number of fields in your form that you’d like to make available in your Contactually account, you can choose to map them into the Note field.
While other fields (e.g. name or eMail) only allow one field to be mapped, the Note field allows any number of fields to be joined and then sent into Contactually as a note that is attached to the contact.