This plugin has been retired, we can still help with support but it’s not available for new users.
 This plugin is an add-on for Gravity Forms.
Once configured it allows any form to automatically insert a new ticket into the HelpScout.net help desk system.
Getting Started:
1. Download and install the plugin via the WordPress Dashboard
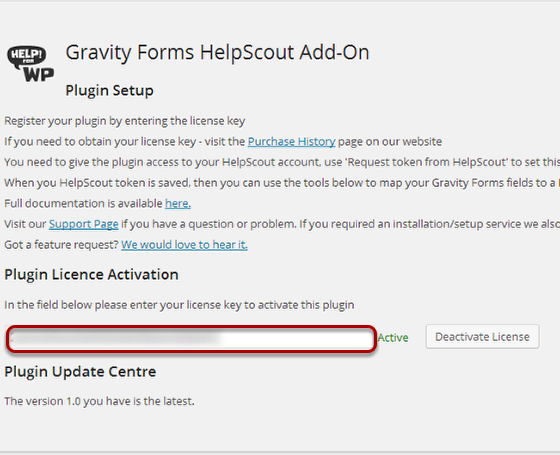
2. Go to the WordPress Dashboard, click Forms and select HelpScout Add-On. Configure your license and Activate.
Setup a form to send to HelpScout:
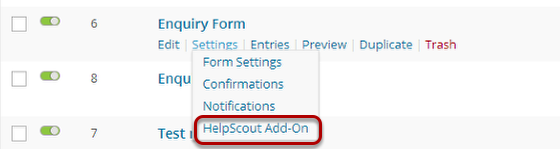
Go to the WordPress admin panel, click Forms hover your mouse to the gravity form you would like to configure. Choose HelpScout Add-On under Settings drop-down options.
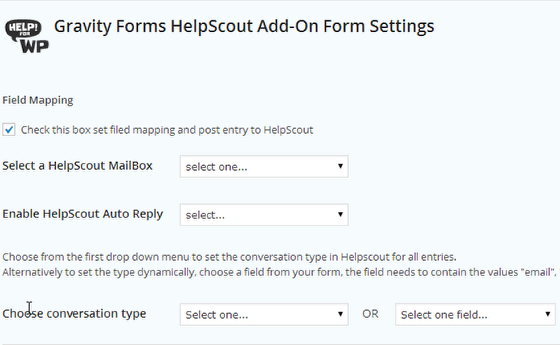
Choose to enable the HelpScout add-on for this form by clicking “Check this box to send form entries to HelpScout“
Select which HelpScout Mailbox you will use. The mailbox you select here will receive all the entires from this form. You can also control HelpScout’s auto reply and set which conversation type to use (email, chat or phone).
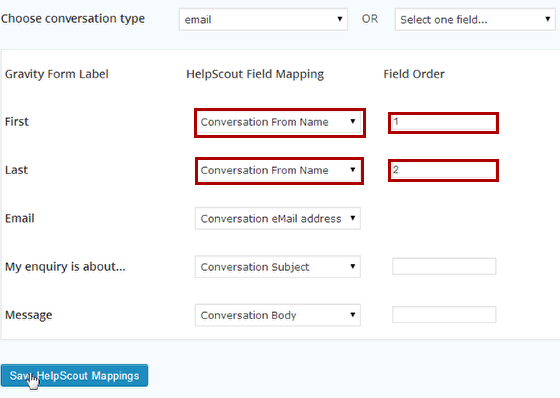
Set appropriate Field Mapping to each of your form fields then click Save HelpScout Mappings.
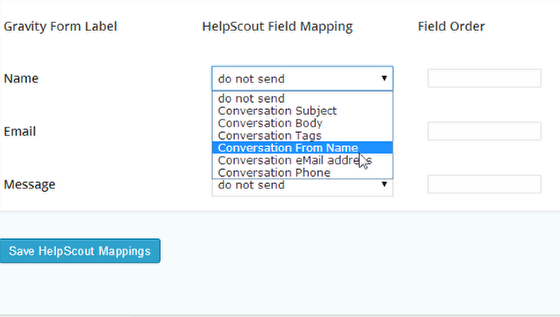
If you have a number of fields going to the same location, set the order by placing an order number in the Field Order. For example: if you have 2 fields selected to go to the Conversation From Name you can determine the order by placing a 1 and 2 in the field order column.
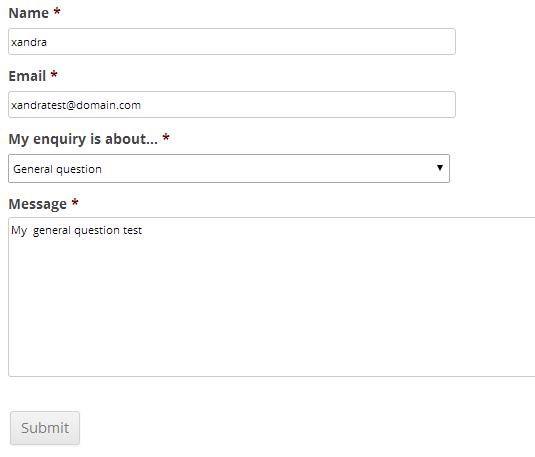
Now test your gravity form!
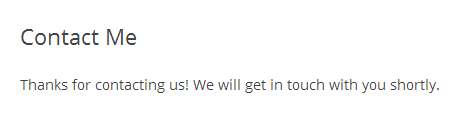
You will see your Gravity Forms confirmation message.
Go back to your gravity form then click entries.

You should see your test message inside the entries section of the Gravity Forms interface.

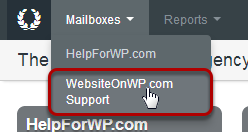
Log-in to your HelpScout Account then go to your HelpScout Dashboard, click Mailboxes. Choose the Mailbox you used in Gravity Forms Add-On settings.
You will be redirected to your mailbox manager.
You should see your test message to verify that it is working.

Working with attachments
From version 1.0.4 up the plugin supports sending file attachments from a form into Help Scout.
View this blog post for a walk through on how to use this functionality.