This plugin has been retired, we can still help with support but it’s not available for new users.

Getting Started
Download the plugin and install.
Locate the Settings page
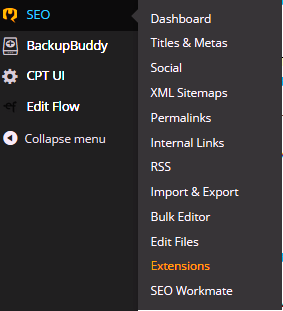
Once installed you will need to visit the settings page to activate your licence. If you are using the plugin WordPress SEO by Yoast you will find a new menu item SEO Workmate inside that plugin, see the first screen shot below.
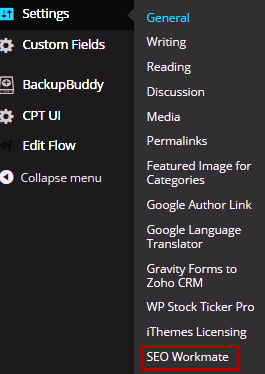
If you’re not using WordPress SEO you will find the settings page under the Settings menu.
On the SEO Workmate Setting page activate your license.
Create SEO keyword groups
On the same settings page start adding keyword groups. You can add as many or few as you need. Notice the small box beside the keyword groups, use it to manage the order of keyword groups. Tick the boxes of the post types where you wish to display your keyword groups.
Click Save when you are done.
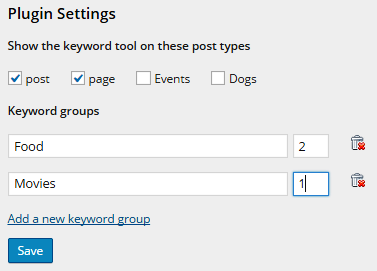
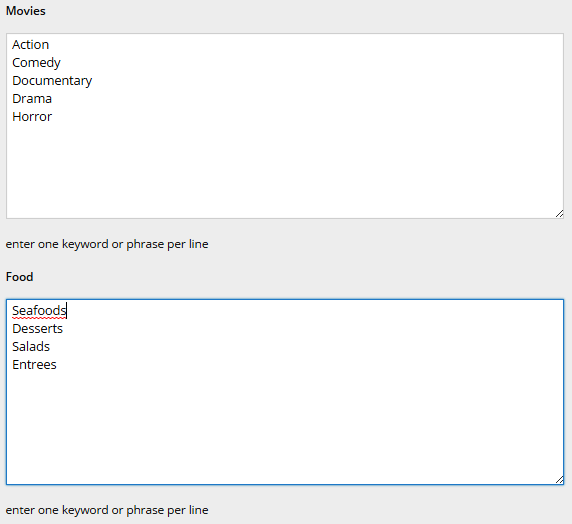
An individual box for each of your keyword groups is created.
You can then start adding keywords inside each keyword groups. Again click Save to keep your changes.
Please note that when you delete a keyword group it will also delete the keywords that are inside that keyword group.
View the keywords as you work
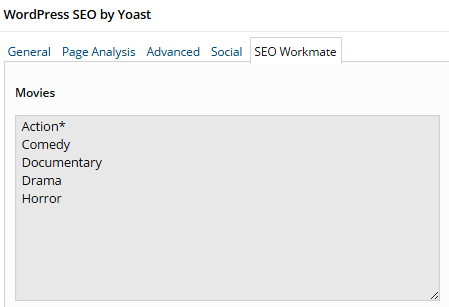
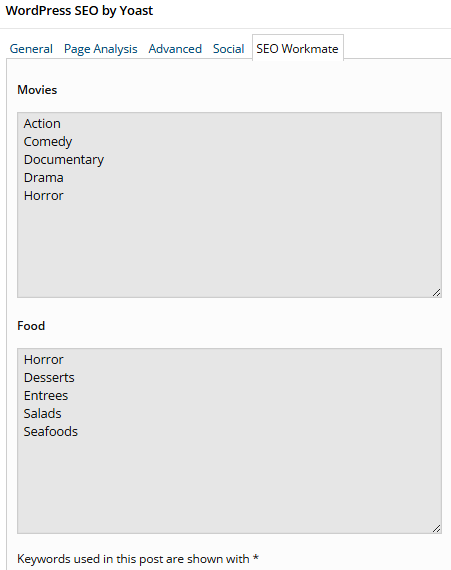
To see the SEO Workmate in action, let’s add a post. If you’re using WordPress SEO you can find SEO Workmate together with the WordPress SEO by Yoast settings below the post editor.
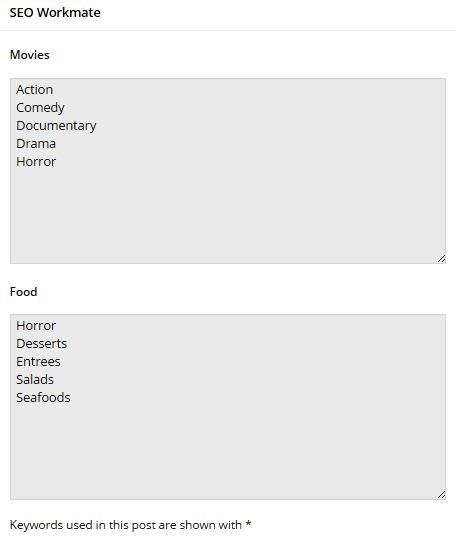
If you don’t have WordPress SEO, you can find the SEO Workmate right under the post editor.
Keywords that you’ve used
Let’s add some text in the post editor and use the keyword “Action” from our keyword group “Movies”. Click Save.
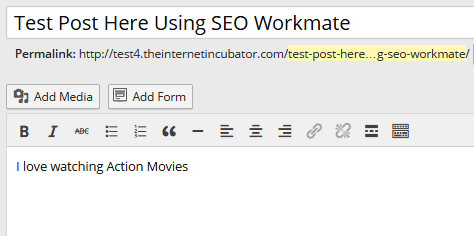
Check to see if the keyword “Action” has asterisk(*) beside it to indicate that the keyword has been used in the post. This way you can easily monitor which keyword is already used inside the post.
