Our add on for Gravity Forms, Gravity Form to Zoho CRM allows you to send the data from a form directly into you Zoho CRM account as a lead. Hundreds of our users use our plugin to automate this process of creating leads in Zoho from their WordPress web site.
In this tutorial we’ll show you how to vary the lead owner of the lead when it’s inserted into Zoho CRM. We going to do this by adding a new account in Zoho CRM and setting that email address as a hidden field in the Gravity Form.
If you’re even more adventurous you can also adapt this method to dynamically set the lead owner based on form input (e.g. a drop down menu that the user chooses) this could be useful if you’re looking to send leads to different departments.
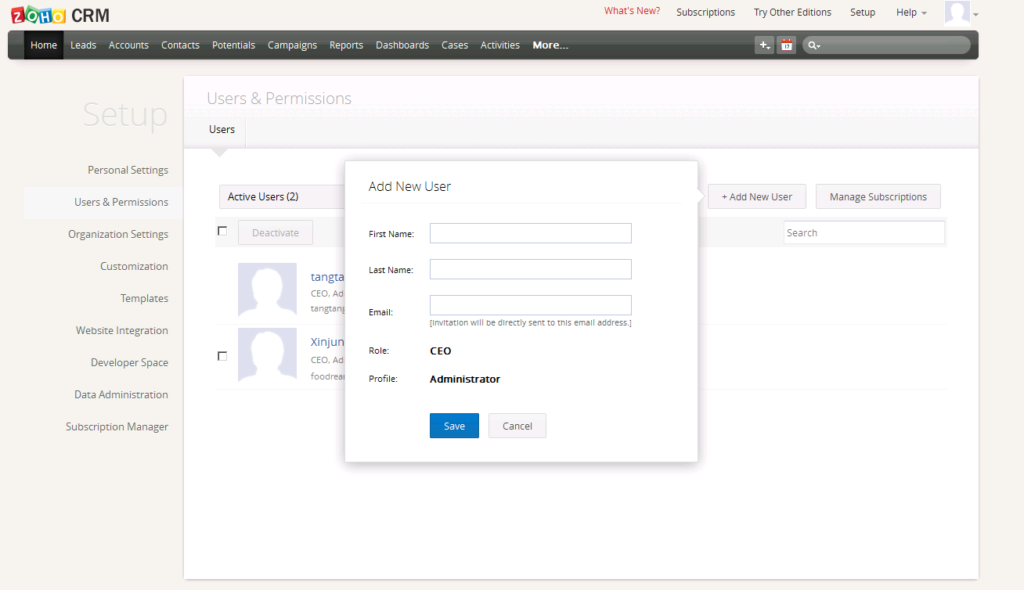
Login to your Zoho CRM account and add a new user (unless you already have multiple users)
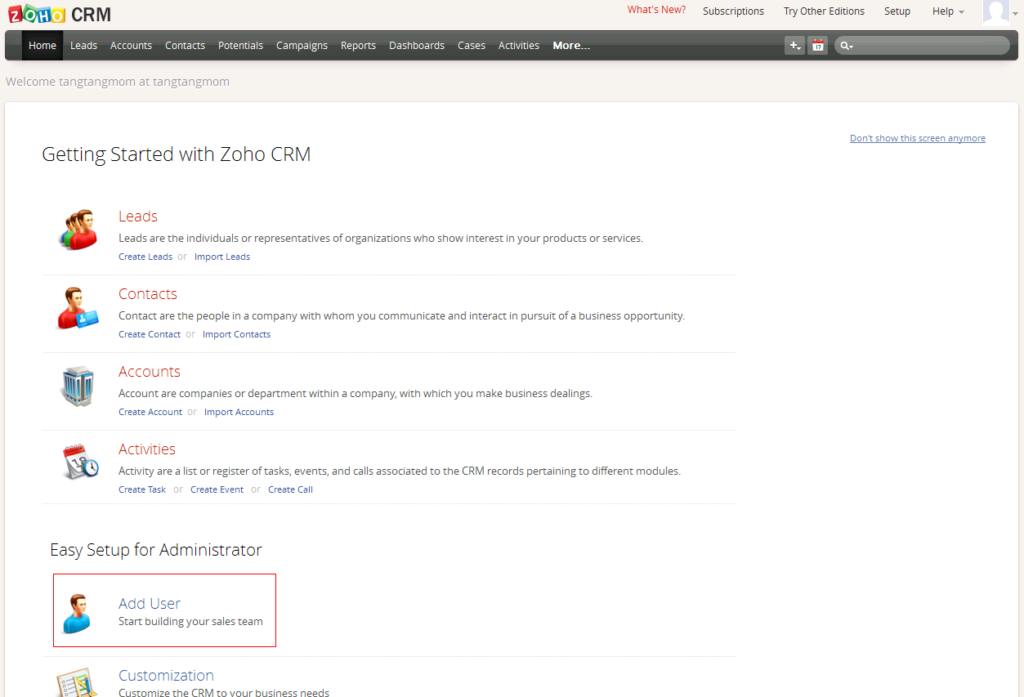
During the setup, Zoho will ask you to enter the new user’s email address, this will be used later to setup the form.
Zoho will send an invitation to the email you’ve entered here, you’ll need to follow through the instructions in this email to complete the setup of the new account.
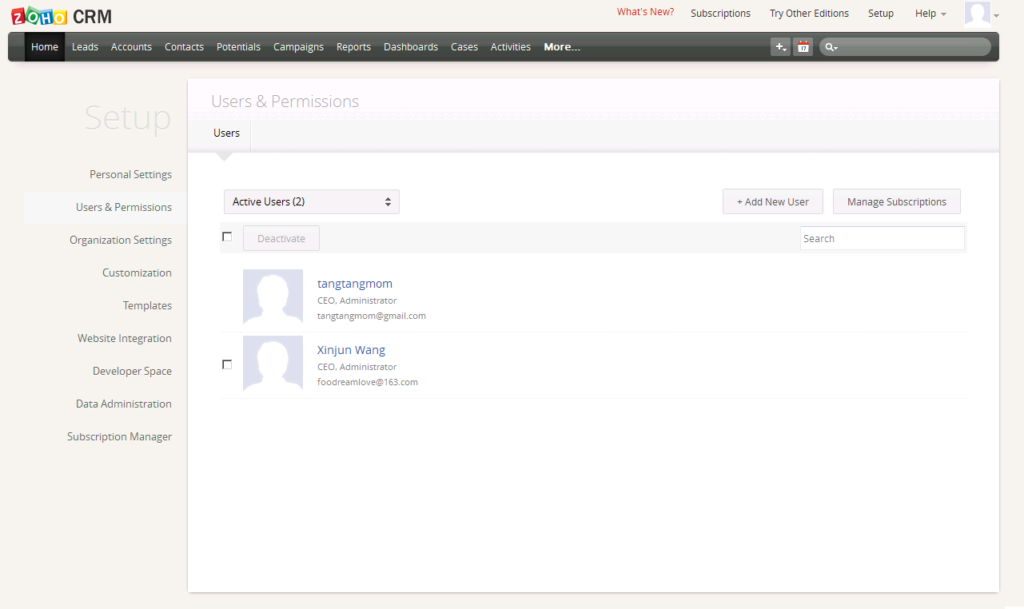
When the new account is active, you’ll see you now have multiple users in your Zoho CRM account.
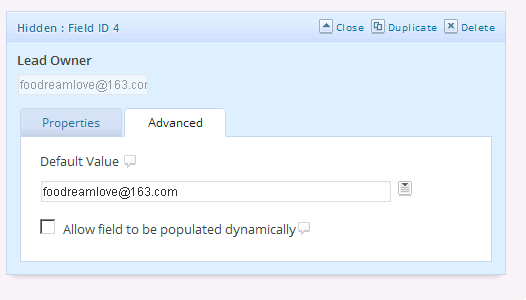
In Gravity Forms, while editing the form that you’re going to configure, add a new hidden field and set the label to “Lead Owner”.
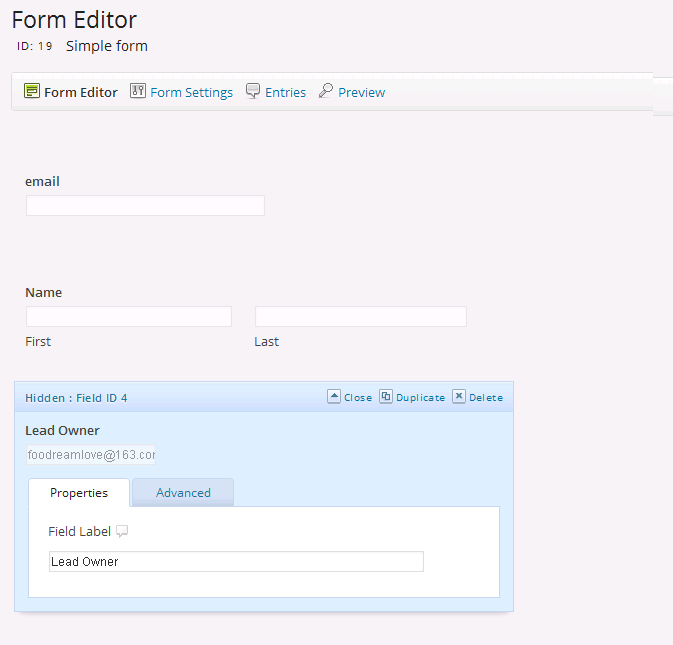
Configure the default value of this new field to be the email address of the new Zoho CRM account.
Finally, visit the plugin settings for Gravity Forms to Zoho CRM. Map the field that you’ve created to “Lead Owner”.
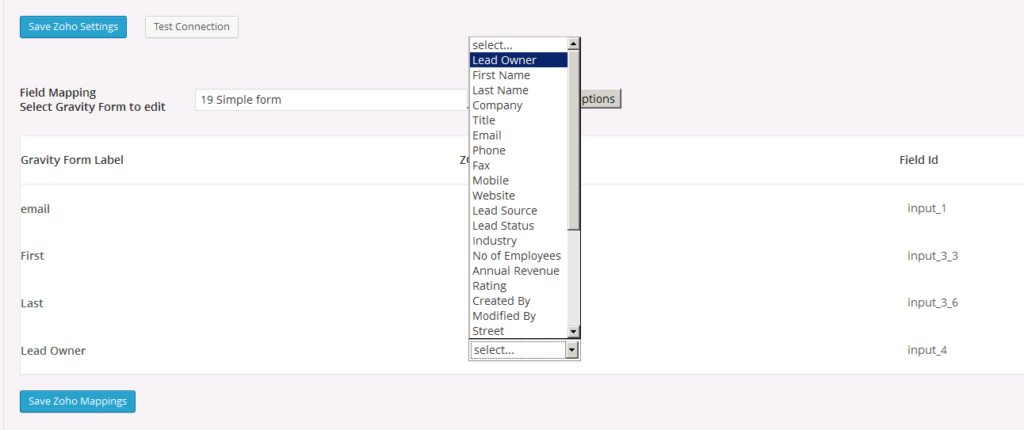
Remember to save the mapping.
Now test the form, and you will see that the lead is created in Zoho and associated with the new account.
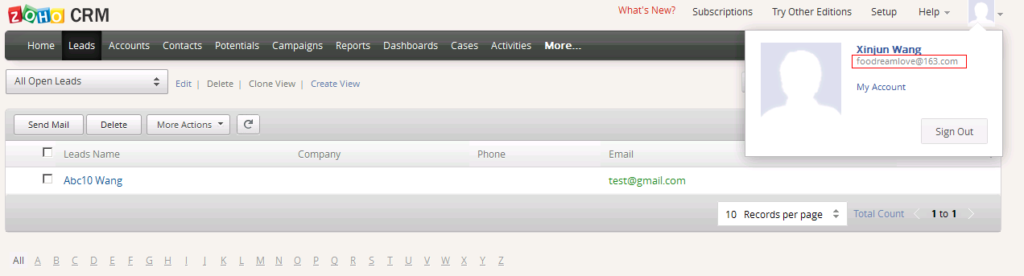
You’re done!