In this tutorial let’s look at how to setup a form in Ninja Forms, to automatically send data into your Pipedrive account. If you’ve not already setup your Pipedrive API and licence key, review the getting started guide here.
Choose a form
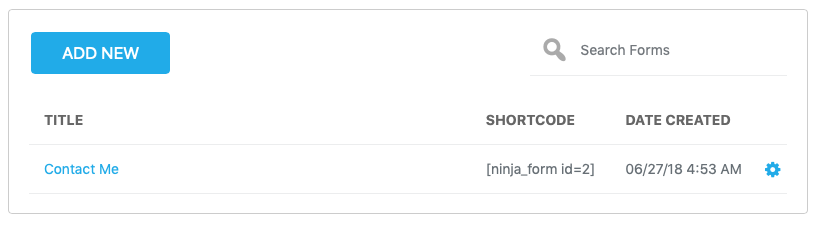
Let’s assume that you already have a form setup in Ninja forms, select it from the list of forms in your setup.
Then from the sub menu here, choose “Emails & Actions”.
Here you will see a new option “Add To Pipedrive CRM”, in the screenshot below you will see it at the bottom of the list.
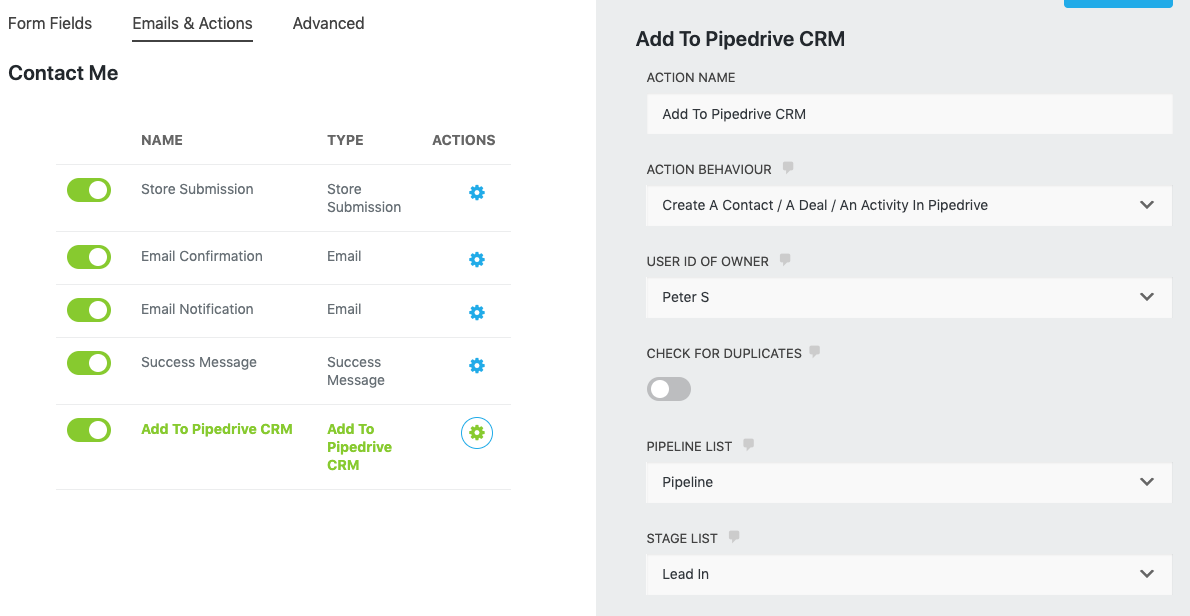
Begin here by entering an Action Name. It can be anything that makes sense to you.
Action Behaviours
Next up you can choose the behaviour of this action. You can choose to:
- Create only a contact in Pipedrive CRM
- Create only an activity in Pipedrive CRM
- Create a Deal, a Contact and an Activity
Set the Pipedrive user
Next up, if you’re working in a Pipedrive setup where there are multiple users, you can choose which of these will be assigned the deals when they’re entered.

Set the list and the stage
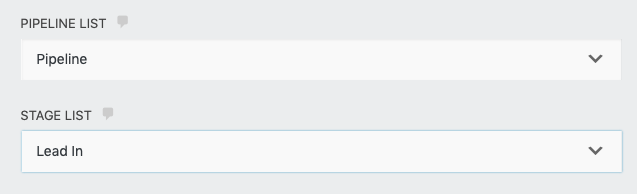
These two fields will contain data synchronised from your Pipedrive account.
Set the deal title
The deal title can be made up of text and one or more fields. This can be useful to make the title of the deal as meaningful as possible when it is displayed in your Pipedrive account.
Use the drop down to choose fields from your form and the text field to add text. If you make a mistake the X will remove the field and/or text so you can try again.
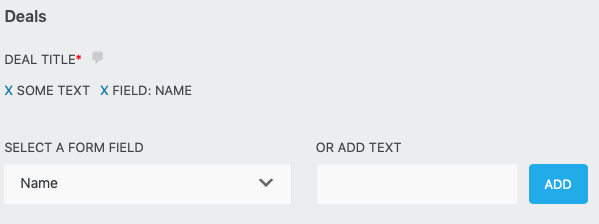
Deals, Organisations and People
Now you can work through the fields that in these three groups. Chances are you will not need many of the Pipedrive options, it’s ok to leave many of them blank, just select a field from your form for the relevant options. The plugin supports both Pipedrive standard field and custom fields that you may have setup in Pipedrive.