Introduction
Please begin by activating the plugin with your licence key. This is delivered to you via email immediately after your purchase. The Settings page (see below) is where you add your licence details.
 Using the plugin is very straight forward. Look for a new menu item Lotties in your WordPress dashboard.
This is where you create upload your Lottie files and configure them.
The plugin is tightly integrated with WordPress, so the Lottie library is intuitive to use, operating like many other data types in WordPress.
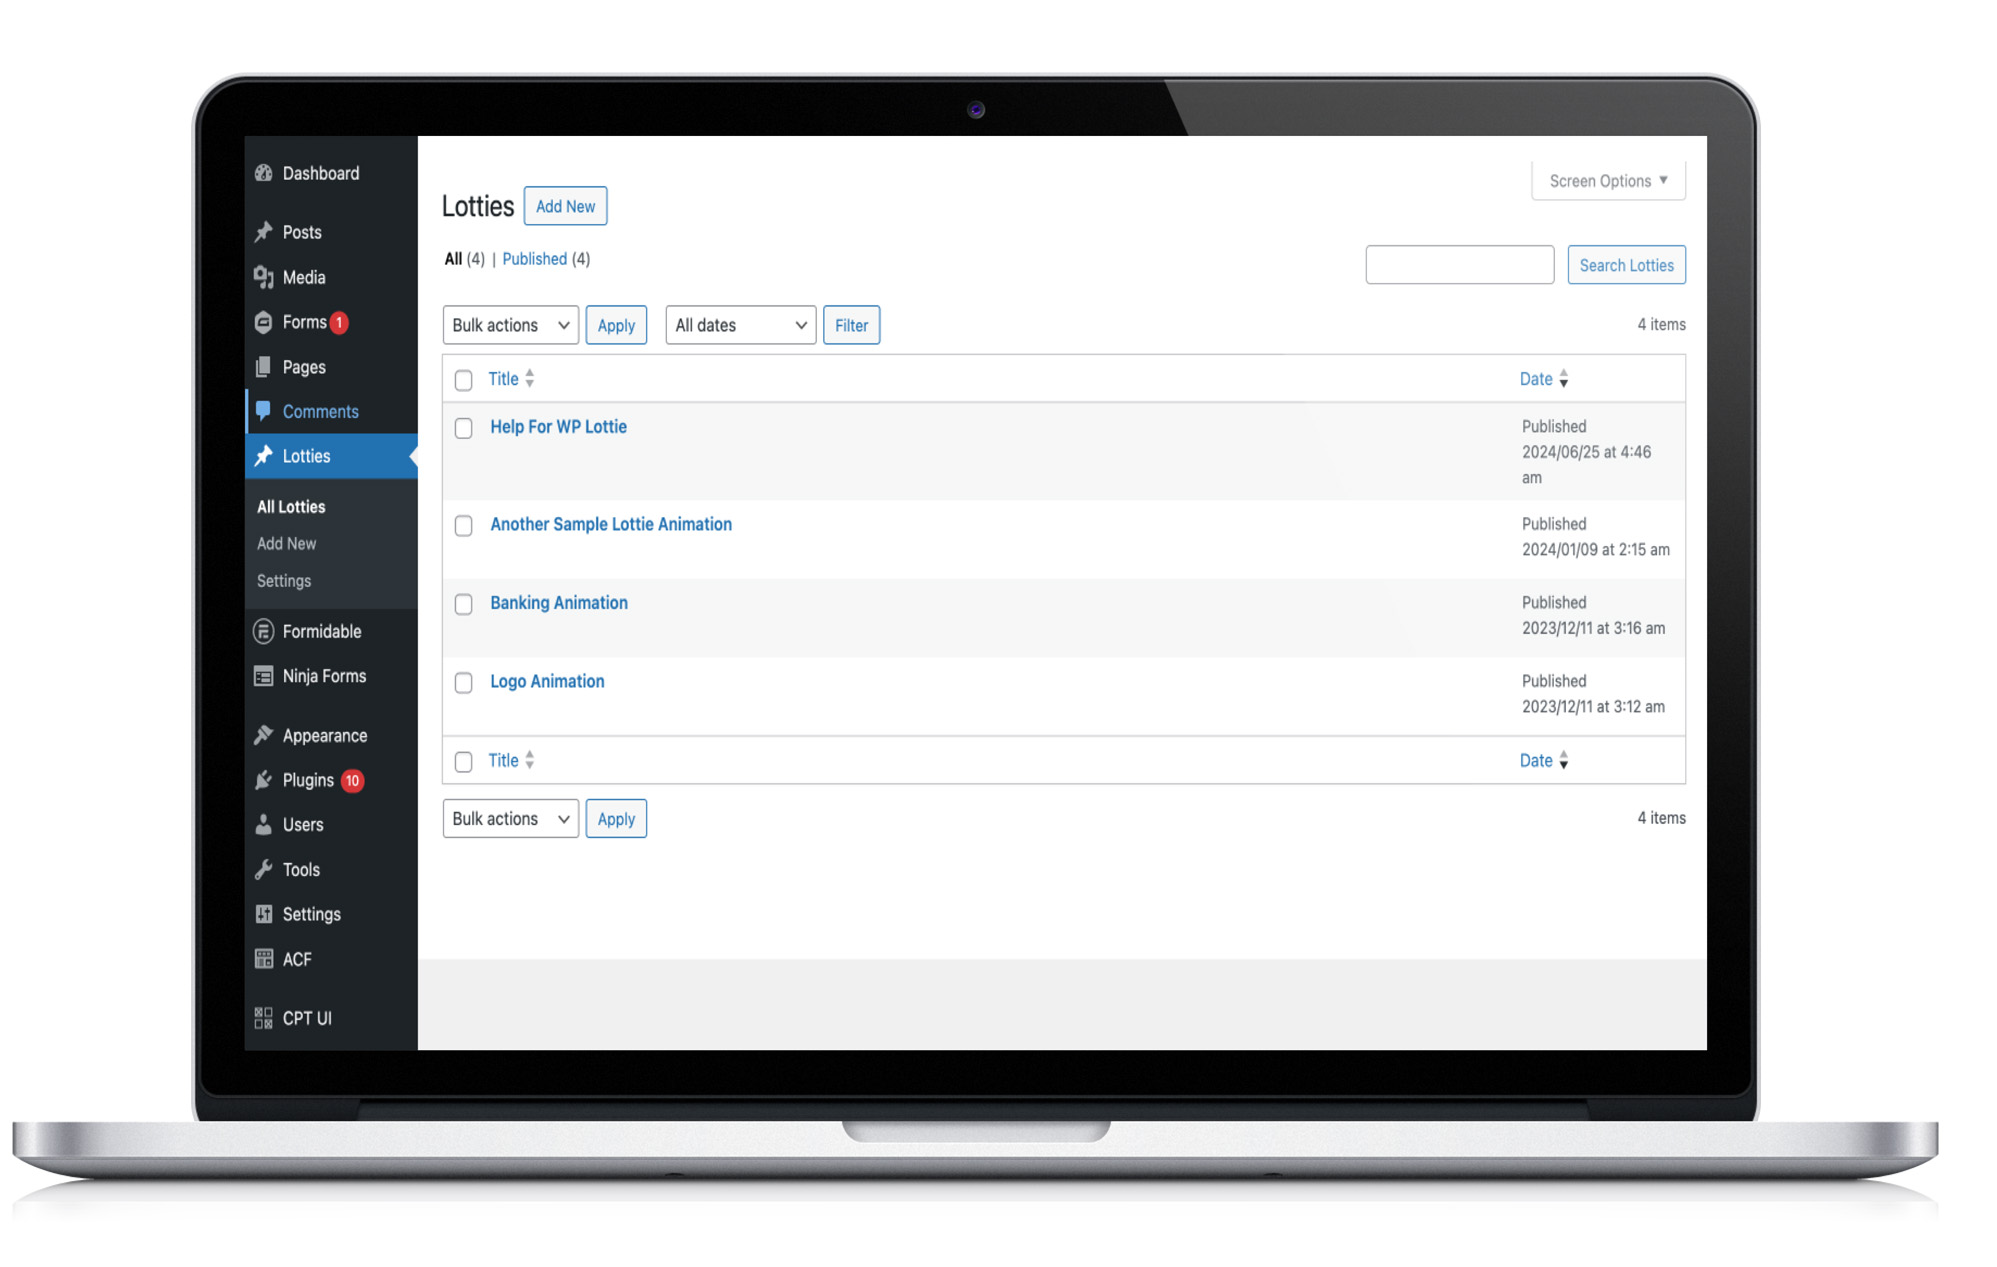
The screenshot below shows the file library in action. Clicking Add New allows you to upload your first Lottie file and start configuring it.

Lottie files organised inside WordPress
Lottie Settings
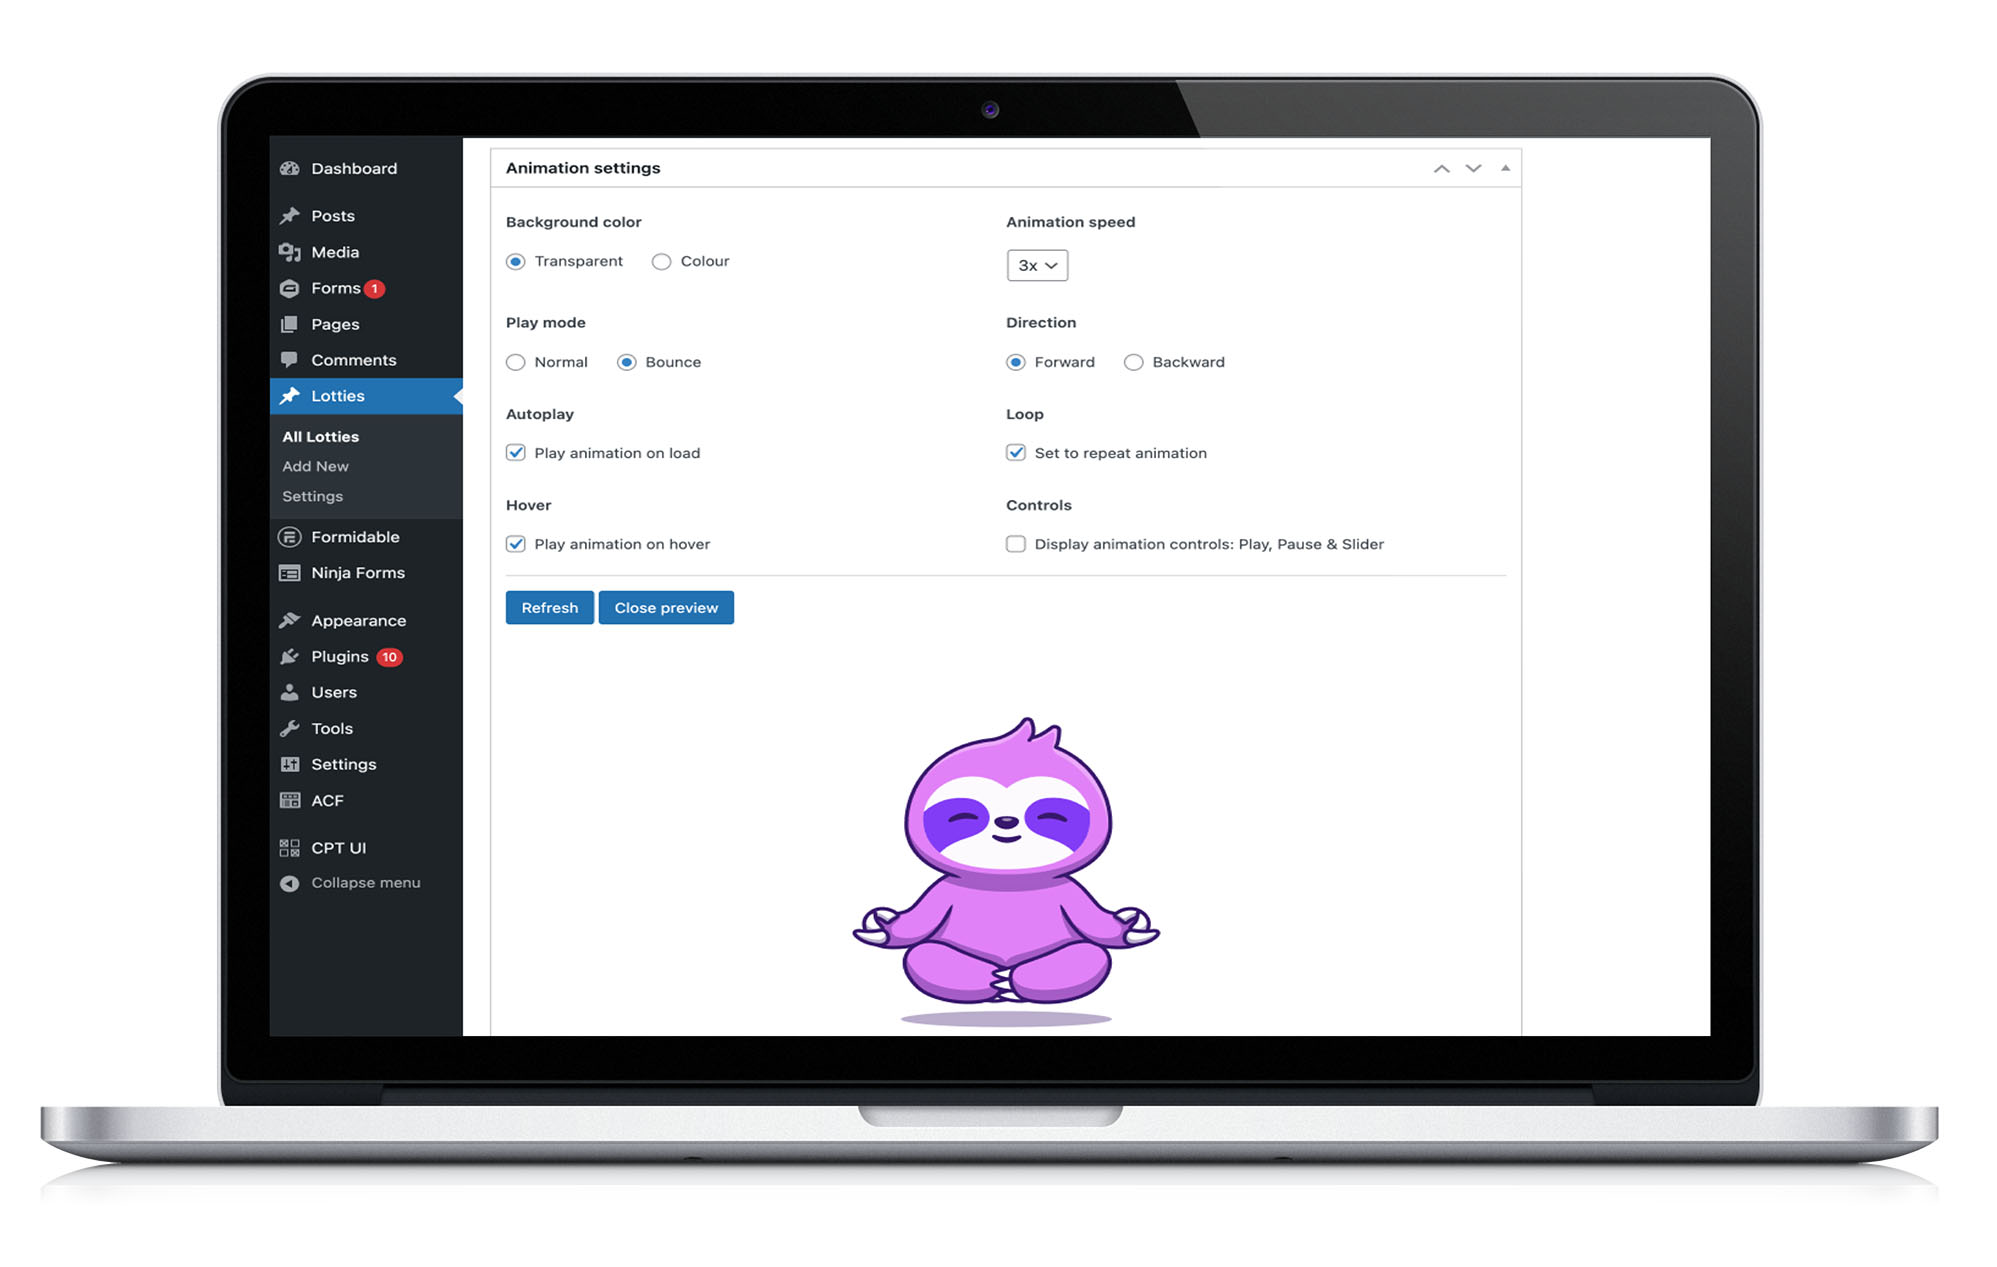
When working with an individual lottie file, you can configure a variety of settings, the screenshot below displays the animation controls that are available. On this interface, click the Refresh button at any time to reload the preview and try it out with the new settings that you have configured.

Controls for each Lottie file
Displaying a Lottie animation with a shortcode
 Once you have setup a Lottie file, you can copy the WordPress Shortcode that is displayed right inside the WordPress editor. This can then be placed in your WordPress content like any other shortcode.
Working with the WordPress block editor
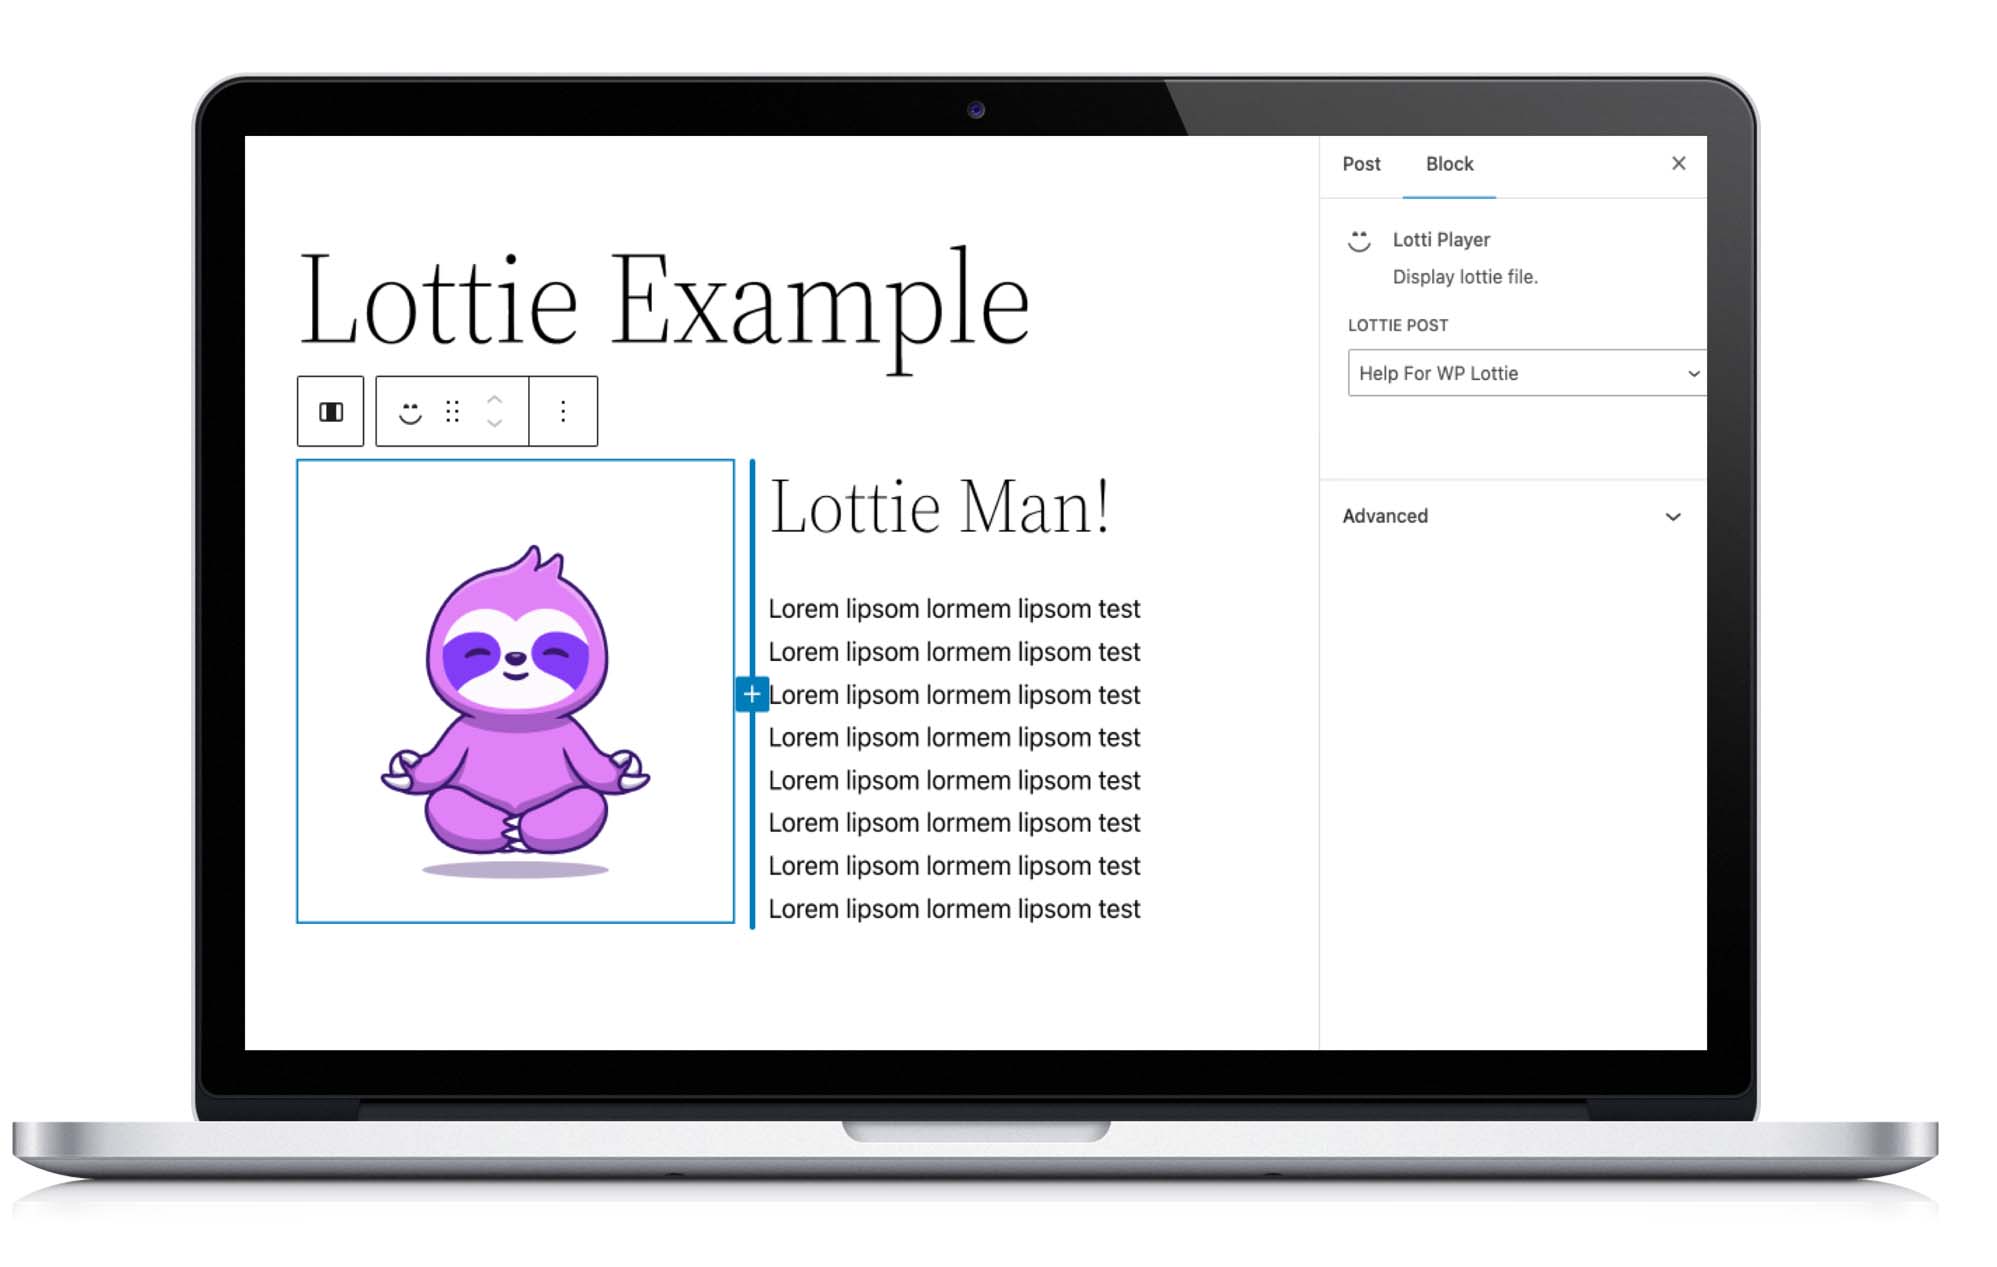
The plugin also has full support for the WordPress block editor. When editing your WordPress content, search for Lottie Player to find the animation block.

Displaying a Lottie File in the WordPress block editor