
WPForms to Zoho CRM Documentation
This plugin has been retired, we can still help with support but it’s not available for new users

Basic plugin setup
Install the plugin and activate it in the WordPress dashboard.
As soon as the plugin is activated you will see a new menu item Zoho CRM in the WPForms dashboard menu.
Here you will find the settings for the plugin.
Begin by entering your license key. After your purchase you would have received this license key via email.

You can also login here and visit the purchase history section of our website to retrieve your licenses.
![]()
![]()
Connect to Zoho CRM
Next setup the connection to Zoho CRM. In the fields Zoho CRM username and Zoho CRM password enter your Zoho login details. The plugin will connect to Zoho over its secure API to confirm the login details are correct.
This only needs to be done once, the plugin will save the connection data for Zoho CRM.
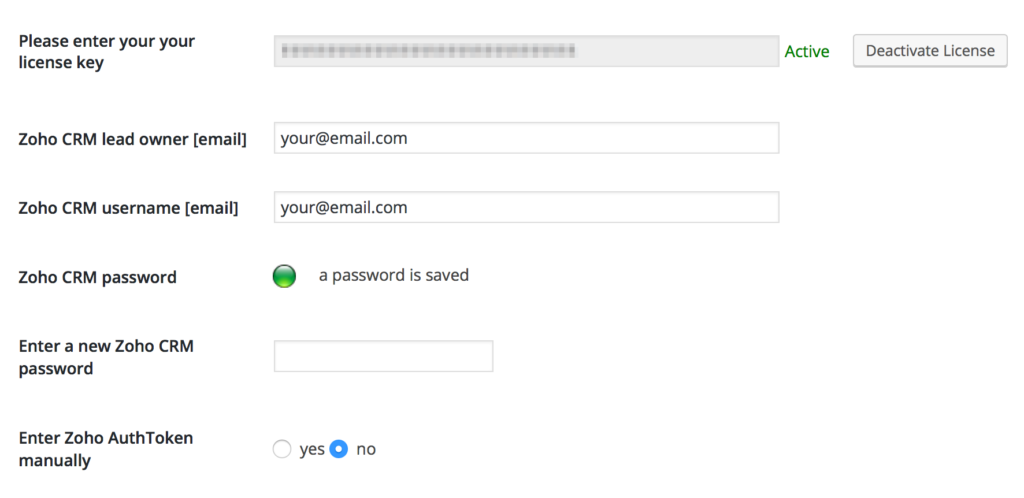
If you need to enter a Zoho Authentication Token manually, this can be done using the bottom field pictured above.
Test your connection
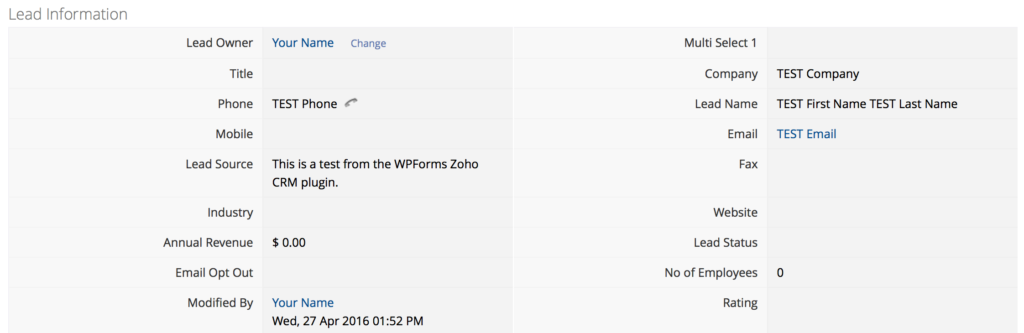
Save your settings. You can now test the connection using the Test Connection button. Login to your Zoho CRM account, when the connection is working you will find a test lead has been inserted in your account. Check in the Leads section of your Zoho dashboard.
Mapping a form to Zoho CRM

In the section Field Mapping you choose the form that you would like to work with. The the form’s fields will then be displayed, allowing you to choose which fields in Zoho CRM you would like the data to be sent into.
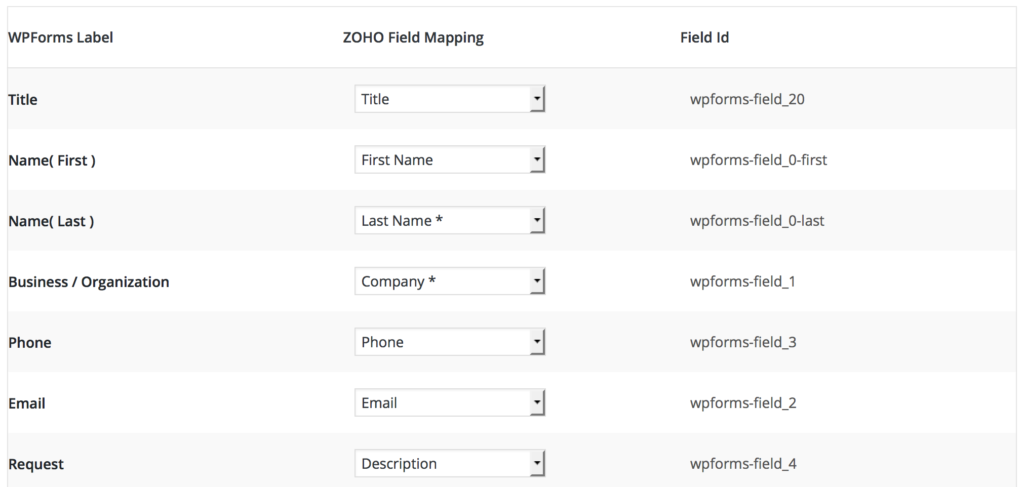
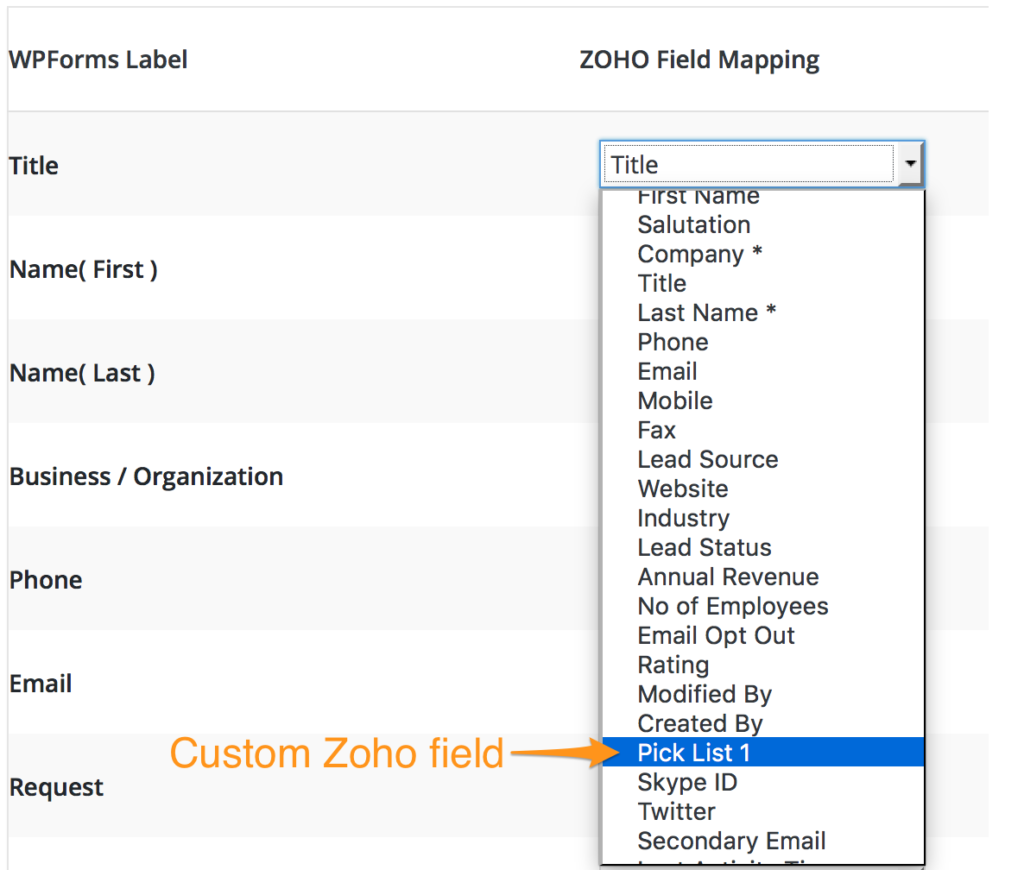
The plugin supports Zoho’s standard fields as well as custom fields that you may have created in your account. They will also be displayed in the drop down menu.
Email Opt Out Field
If you want to set up your form to map to the Zoho Email Opt Out field, please use a WPForms field with only one checkbox. If the checkbox is checked, it will also be checked in Zoho. If it is left blank, it will also be left blank in Zoho.
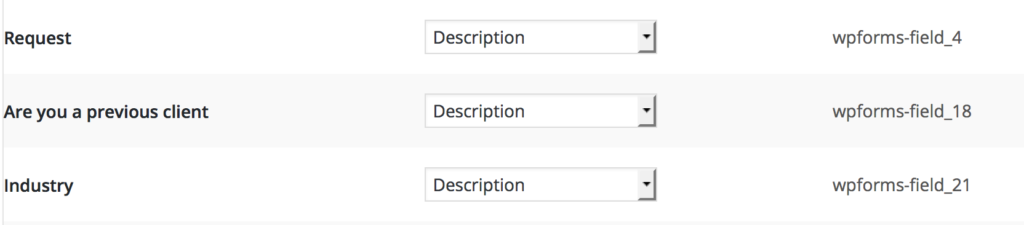
Mapping Multiple form fields to a the Zoho Description field
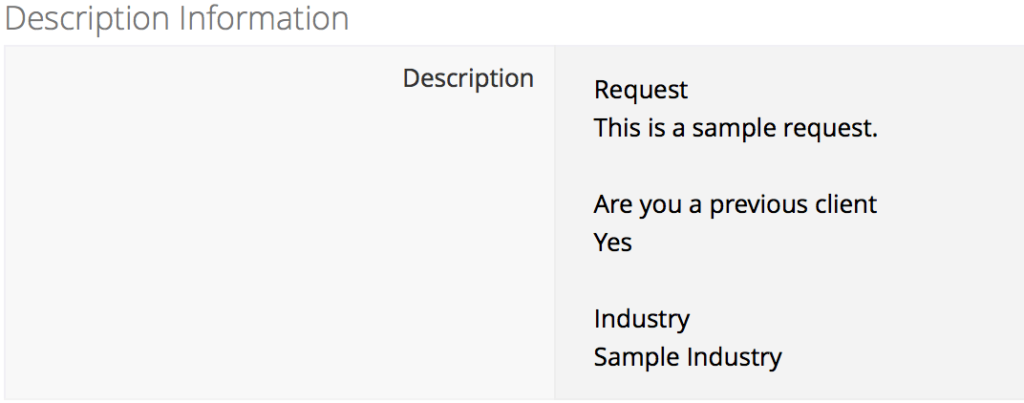
You can map multiple form fields to the Zoho Description field. The field label will appear above the field data in the Description field. For example, we mapped three fields to the Description field:
This is how it appears in Zoho:
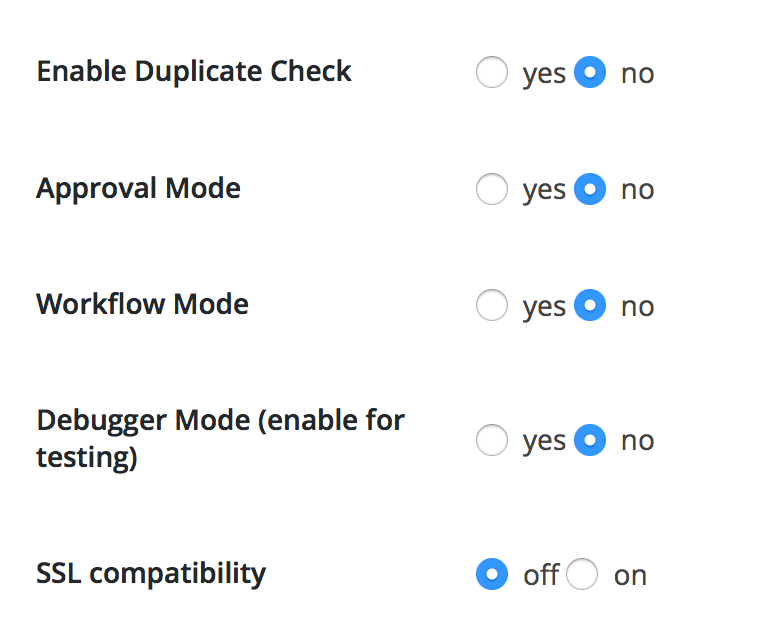
Additional Zoho CRM controls
The plugin supports more advanced Zoho CRM features, the screen shot below shows the options to turn on and off these.
Approval Mode
In this mode Zoho CRM will quarantine the new leads so that they can be approved before they are combined with your other leads in your CRM account. This is useful if you would like to qualify the leads before it’s finally entered into your system.
Enabling the mode in the plugin instructs Zoho to use this mode. The approval process is then handled in your Zoho CRM dashboard.
Workflow Mode
If you’re using workflows in Zoho enable this option to trigger your workflow when the lead hits your account.
SSL compatibility
The plugin needs to be able to communicate over SSL to the Zoho CRM API. Some hosting environments have non-standard configurations that require this compatibility mode to be enabled. If you’re having trouble getting a connection try enabling this option.